
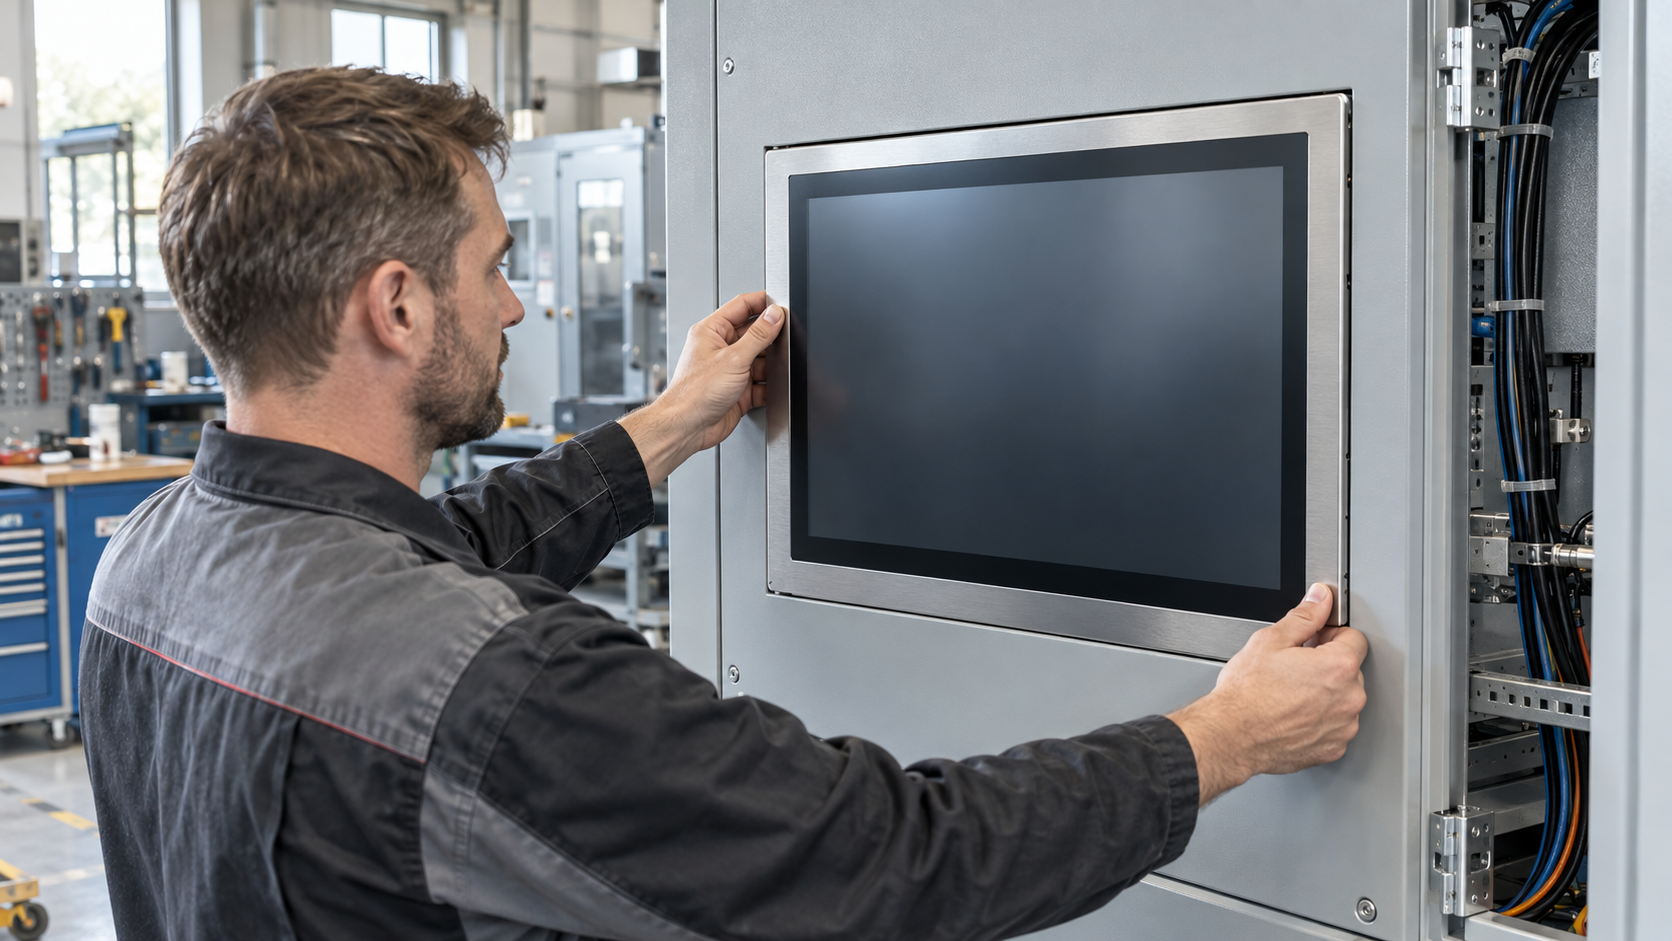
A panel that behaves perfectly on a test bench can turn into a problem the day it meets a cabinet door. Mounting determines the cut-out you have to make, how much clear depth you need behind the sheet metal, whether the bezel actually seals, and how long a screen swap takes when a unit fails during a night shift. These are mechanical questions. Settling them on paper costs far less than re-cutting an enclosure.
Four constructions, and what each one asks of your cabinet
Front-embedded. The panel goes into the cut-out from the outside and its flange lands on the cabinet face. The gasket sits where you can see it, so a compressed or perished seal shows up during a walk-around instead of after a wash-down. It also means the flange has to cover the cut edge, which drives the opening tolerance. Our P X2 21.5" and P X2 15.6" use an aluminium front-embedded frame; the G S1 10.1" takes the same approach with a CNC-machined aluminium frame.
Rear-embedded. Loaded from inside the cabinet and drawn forward until the bezel meets the front surface, which leaves no visible fixings on the operator side. That is the reason to choose it: a flush face with nothing to unscrew, nothing to catch a glove or a cloth. The cost is on your side of the door. You need hand room inside the cabinet, and the sealing interface moves inside where somebody has to design it. The P X1 15.6" and P X1 21.5" are built this way, and the M S1 10.1" is listed for rear-embedded or wall-mounted installation.
Shell-less, open frame and mid-frame. These ship without an outer enclosure. The S Series is a standard shell-less embedded design and the C Series uses a mid-frame that combines into your own housing. Machine builders and kiosk manufacturers pick these when the panel has to disappear into a product they are already making. Space efficiency is the best of the four. Sealing, grounding for EMC and the bezel geometry become your responsibility, which is fine if you have a mechanical engineer and a problem if you do not.
Integrated frame, external embedded. The F IC 7" uses a one-piece die-cast aluminium frame and mounts into the panel from outside. The frame carries the load rather than the sheet metal, which helps on thin walls, on doors that flex, and anywhere vibration is part of daily life.
Depth behind the panel matters more than the cut-out
People dimension the opening and forget the box behind it. A 21.5-inch panel running a quad-core SoC puts real heat into a confined space, and fanless designs move that heat out through the frame and the chassis it is clamped to. Clamped to steel, the cabinet becomes the heat sink. Clamped to a painted door over an air gap, it does not, and the panel throttles on hot afternoons while the spec sheet looks fine.
Cables are the other half of that space. Power, serial, Ethernet and USB all need bend radius and slack, and the exit direction should follow the route your cabinet already uses rather than the direction the connector happens to point. A rear-embedded unit pushes its connectors into the cabinet, so the depth you allow has to include the plug bodies, not just the back of the housing.
The published depth of a model is where the calculation starts, not where it ends. The B-L1-101 10.1" measures 46.2 mm deep overall with exterior inset mounting, and that figure covers the housing only. Plug bodies, cable bend radius and the standoff behind the panel all sit outside it, which is why two panels with the same screen size can need different cabinets. Screen size and mounting depth are one decision rather than two, so the trade-off is worth reading before the sheet metal is cut: 7-Inch vs 10.1-Inch HMI Panel: Which Screen Size Fits Your Project?
Wall mount, brackets and arms
Not every panel goes into a door. Along a production line, on a column, or next to a packing station, a wall bracket or an arm is often the honest answer, and it removes the cut-out question entirely. What it adds is a different set of checks: what the wall or column is made of, whether the fixing will hold under vibration, where the cable runs so it is not the first thing somebody snags, and the viewing angle relative to overhead lighting that will otherwise turn the screen into a mirror. The M S1 series covers both rear-embedded and wall-mounted installation for this reason. Arms on moving equipment deserve a look at resonance, because a long lever arm turns forklift traffic into a slow fatigue test.
Cable exit direction decides how awkward the installation is on site. The M-S1-070 7" takes a perpendicular cable exit, so the loom turns away from the panel instead of running straight back into the cabinet, and its aluminium alloy front frame measures 2.3 mm, which is the thickness a clamp or gasket has to grip.
Cut-out accuracy and flatness
The opening should come from the drawing for the exact model you are buying, not from a previous project that looked similar. Laser-cut openings hold tolerance well; a hand-cut hole in a welded door rarely does, and distorted sheet metal gives you uneven gasket compression no matter how carefully the panel is fitted. Leave enough flange to cover the edge, and check that the clamping method works with the wall thickness you have: threaded studs need room for nuts, spring clips need a consistent thickness to grip. If you are building fifty machines, make a template. The first enclosure is the one people measure; the rest are the ones people copy.
Shell-less designs put the opening in your hands. With the S-070 7" the cut-out is cut in your own housing, so the drawing has to come from the exact model you order rather than from the last project. Size and cut-out are settled together, so it is worth reading how to choose the right touchscreen size for your HMI panel before anyone opens a sheet of metal.
Plan the swap before you need it
Screens get broken, backlights dim, and a board occasionally fails. Ask which direction the unit comes out. Front-embedded panels generally service from the operator side. Rear-embedded ones need working space inside the cabinet and the door opened, which is quick on a standalone machine and awkward on a crowded line. If your technicians will need a USB port or a firmware update at commissioning, decide now where that port lives and whether it is reachable without dismantling anything. Ingress rating follows the same logic as the mechanics, and we covered the rating question separately in our guide to IP65, IP66 and IP69K.
What to settle before you order
- Door or wall material and thickness, and how flat it stays after welding and painting.
- Clear depth behind the panel including connectors and cable bend radius.
- Whether the operator side must be screw-free, and how often the face gets cleaned.
- How the panel will be serviced, and by whom, with the cabinet closed.
- Cable exit direction and where the service ports sit.
- Whether the mounting surface moves or vibrates in service.
Six questions, and most mounting problems trace back to one of them being answered late.
Frequently asked questions
What is the difference between front-embedded and rear-embedded mounting?
Front-embedded panels are fitted from outside the cabinet and their flange lands on the cabinet face, so the gasket is visible and service usually happens from the operator side. Rear-embedded panels are loaded from inside and drawn forward, which leaves no fixings on the operator side but costs you working room inside the cabinet.
How much clearance depth does an HMI panel need behind the cabinet door?
More than the published depth. The figure in the datasheet covers the housing only, so the plug bodies, the cable bend radius and the standoff between the panel and the sheet metal all have to be added on top. Ask for the mounting drawing of the exact model before you fix the cabinet depth.
Can a wall-mounted panel be moved into a cabinet later?
Usually not without redesigning the enclosure. A bracket or an arm carries the load and keeps the cut-out question out of the project, but converting the installation to an embedded one means a new opening, a new seal and a different service procedure.
Does the mounting method change the ingress rating of the panel?
The rating belongs to the panel and its seal rather than to the way the panel is fixed, but the seal only keeps its rating when it is compressed evenly against a flat flange. We covered the rating question separately in our guide to IP65, IP66 and IP69K.
Which mounting method is the easiest to service in the field?
It depends on the machine. Front-embedded panels usually service from the operator side without opening the cabinet, which is quick on a standalone machine and awkward on a crowded line, where a rear-embedded unit can be faster to reach. Decide who does the work and what they have to reach before you choose.
Send us the cabinet drawing
If you are specifying a panel now, send us the cabinet drawing, wall thickness, available depth and cleaning method. We will tell you which construction fits and what the opening should be. Mounting hardware, bezel finish and I/O can be adjusted for OEM and ODM orders.
Send an inquiry with the drawing attached, or go straight to the series you need: S Series open-frame panels, C Series mid-frame, P X1 rear-embedded, P X2 front-embedded, F IC die-cast panel, M S1 wall-mount option. If the panel will end up inside a machine tool or a cabinet, industrial machine control covers how the panel and the equipment around it are specified together.
Related products
Explore our HMI panels
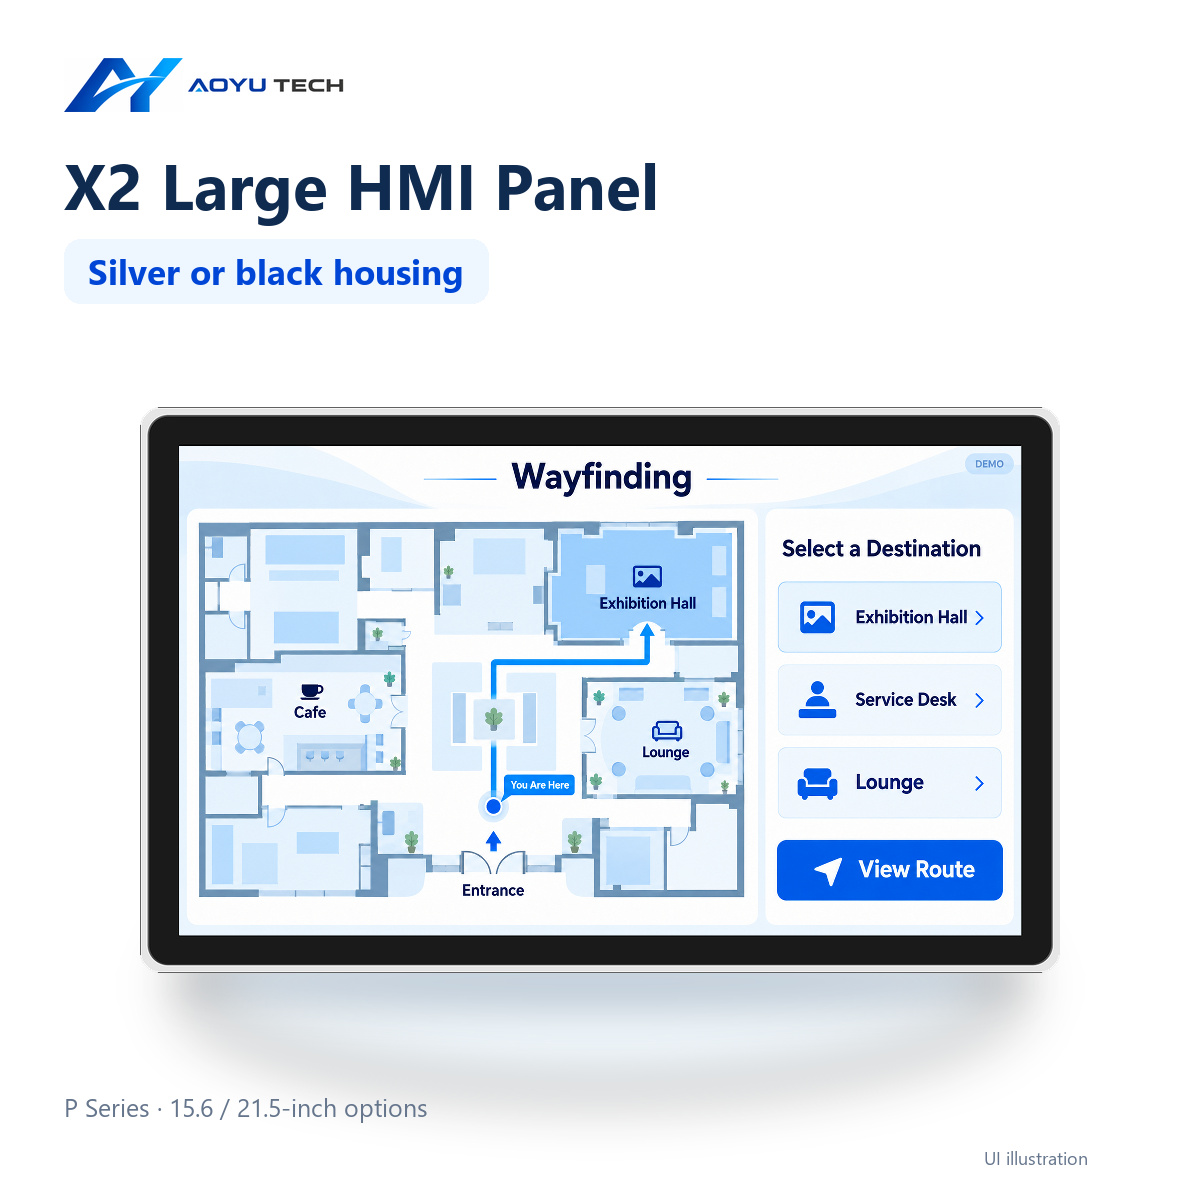
P-X2-215 21.5-inch HMI Panel
Display size: 21.5 inches. Resolution: 1920 × 1080 px. Brightness: standard: 250; optional…
View product →P-X2-156 15.6-inch HMI Panel
Display size: 15.6 inches. Resolution: 1920 × 1080 px. Brightness: standard: 250; optional…
View product →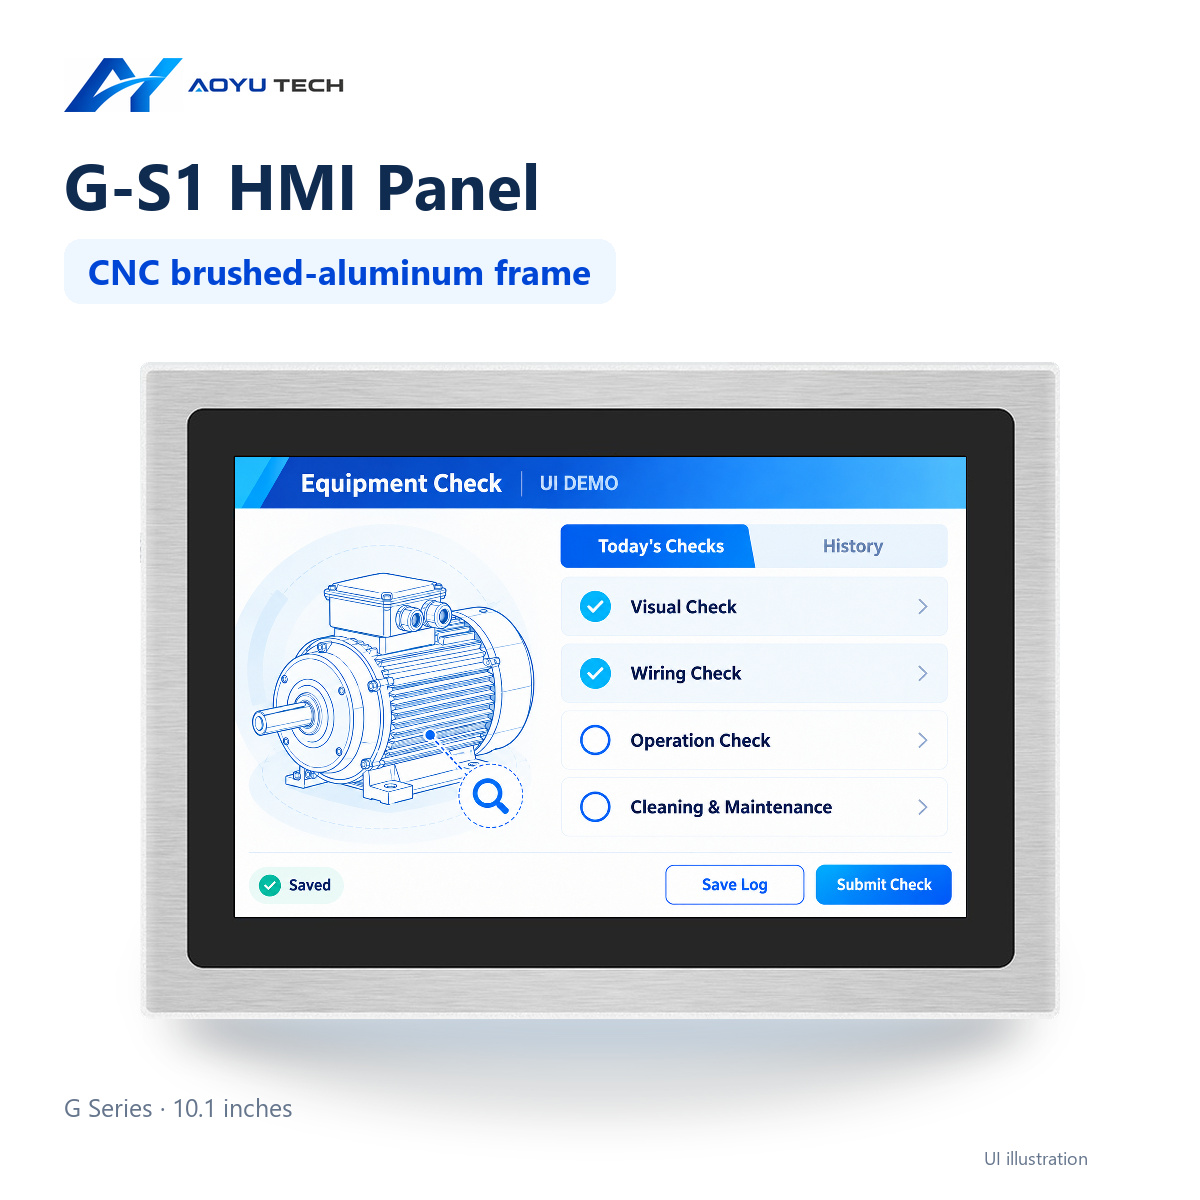
G-S1-101 10.1-inch HMI Panel
Series: G-S1. Frame: CNC aluminum alloy. Ethernet: 4 channels. Standard brightness: 500 cd…
View product →Ready to start your HMI project?
Our engineers help you choose the right HMI hardware and software for your project.